Knowing how to plaster a corner is an essential part of the job. Whilst it isn’t the easiest job, there isn’t a great deal of science behind it and if you follow some easy quick steps you are bound to get a great finish in your room.
Why would you want to fix plaster angle beads properly?
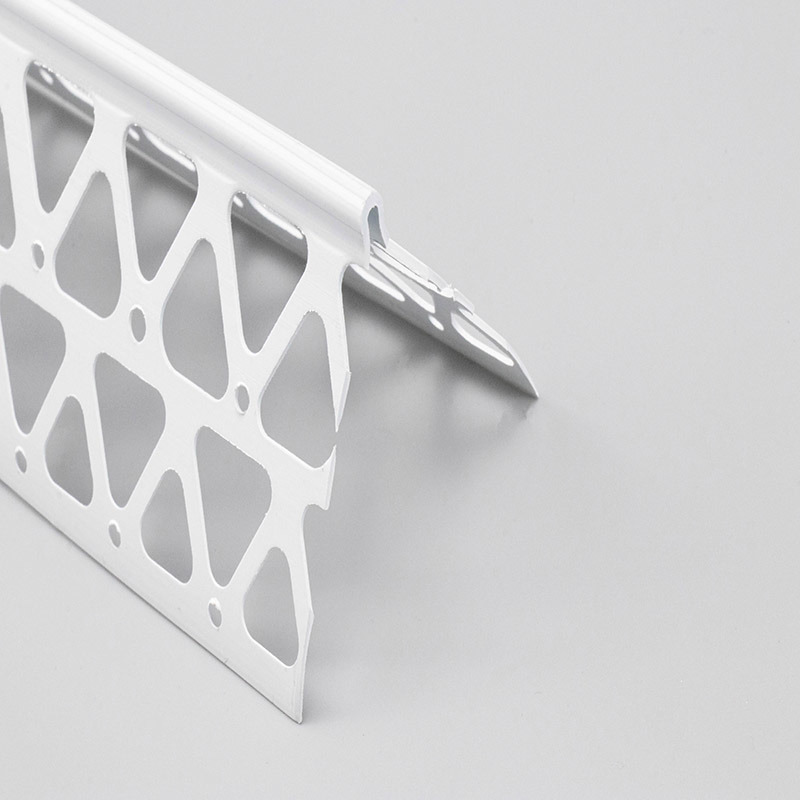
The quickest, easiest and best way to get a strong corner on your plastered work is to properly use a bit of plaster beading.
Step-by-step process:
- Mix up your plaster
First things first, you are going to need to mix your bonding agent to make the plaster that you are going to use. Once you have established the type of plaster and bonding agent you are using – Thistle is one of the major and best plasters – you can get to work mixing.
- Cut beading to size
You’ll want to prep your beading before applying it to the given area. This means cutting it to size and also making sure it is ready to apply. You’ll often find that external angle beads are open slightly at each end. By pinching each end and closing the beading a little you make sure that you’ll get the best finish when applying.
It’s then a case of snipping the angle beads to the correct size. We recommend cutting the ends on a 45 degree angle to help prevent the angle bead opening up at the end.
- Prepare your hawk
Before starting the job you will want to pick up some bonding plaster and let it dry into your hawk. This allows you to apply further plaster to spread without it slipping off when you are in the process of applying the plaster – that just makes the process a whole lot messier. This is a simple but highly effective step for beginners to know.
- Apply the bonding
Once you have got everything ready you’ll want to apply the bonding to the wall. Being more generous here is the best way to do it, applying around an inch and a half or so to the wall.
- Set the beading
Once the stage has been set, you are now all ready for the main act. Applying the beading can be a bit stressful and daunting at first but once you get the hang of it, it becomes easy. Fit the beading to the external corner where you have applied the bonding. You’ll then want to tap it into place. A common error when fitting an angle bead is pushing it on too tight. This can lead to hairline cracks when the plaster dries so is something to try and avoid.
- Remove any excess
Once applied, you’ll need to check there is sufficient filling at the top, middle and bottom of the angle beading to make sure that it is level. Using the edge of a trowel or blade, you can check the amount of filling apple to the whole beading – ensuring that there is metal or fixings protruding. You want to be able to see the angle bead to know that it is level.
- Repeat for all wall corners
Once you have done the first corner angle bead you will feel more confident and after that it’s a case of continuing to do them until you feel confident.
- Check work and level up
After you have done all the corners you need to in a room you will want to check your work and make sure all the walls are flush. This is best done with a level which makes sure you aren’t making any walls all wonky. You’ll want to apply a three coat system to angle beads – similar to joins. With special care taken at the top, bottom and middle.
Leave a Reply