


Getting into a car accident is both scary and baffling. Throw injuries into the mix, and things get way tougher. Suddenly, there's medical care to think about, legal stuff to figure out, and insurance claims to file. But knowing what to do right after an accident can really help with recovery. It . . .
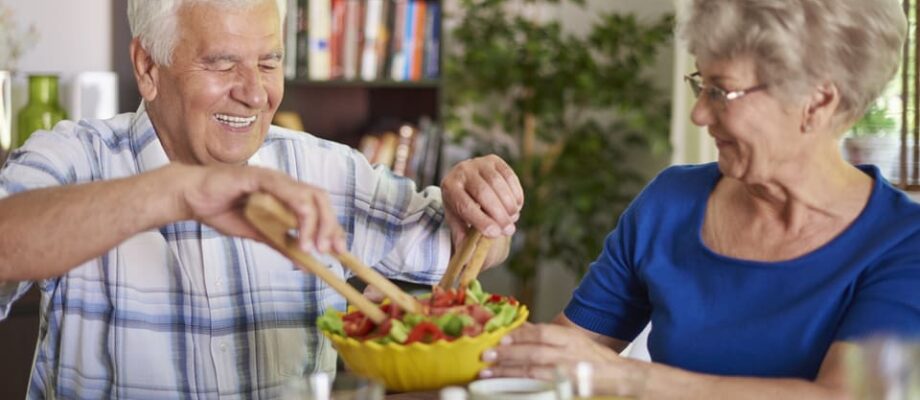
3 Healthy Habits Every Senior Should Do Daily

As we get older, staying healthy is more important than ever. Something as simple as a seemingly innocent cold could lead to serious consequences and even hospitalization. That's why it's critical that seniors take care of their bodies every day. By engaging in the right healthy habits, you will . . .
Meal-Prepping for a Large Family: 3 Helpful Tips

From reducing waste to saving time, meal prepping has a lot of benefits, particularly for large families. Admittedly, the numbers of a big family means it's not the easiest thing to do. Still, you can do it, and here are 3 helpful tips. Consider a Ready-to-Assemble (RTA) Outdoor Kitchen Meal . . .
4 Tips For Getting Started Powerlifting

Powerlifting is something that more and more people are willing to try, because of the incredible benefits on your physique. It's not just for men, either! More and more women are getting into powerlifting, as it can give you maximal results in a fraction of the time as traditional . . .
Lucrative Careers Without a College Degree

In today's rapidly evolving job market, the necessity of a college degree is being challenged by various industries. Take the building industry for example. A general contractor can make a very good living by learning all they can about building a home, installing a pocket door, and creating luxury . . .
- 1
- 2
- 3
- …
- 82
- Older Posts